Back to all posts
How I added a paper effect to my Next.js website, using noise
January 30th, 2024
6 min read
Coding
Frontend
Web
I've been working on the latest version of my website for a little while now. In addition to adding a whole new blog this time around (yay second post!), I've also been trying to emphasize the smaller, more subtle aspects of the design. Things that I think really go the extra mile in making a website look beautiful and feel great to use. In keeping with this vision, I wanted to add a slight "paper-y" feel to the site. Something that the user would barely notice consciously, but that would make reading text on the page much more pleasant.
The first few tries weren't perfect (naturally), but I think I've finally found a solution that I'm happy with. It was so simple in retrospect... I just applied a small amount of noise to the page. In this post, I'll go over the two approaches I tried before settling on the noise implementation, and then I'll explain how the noise implementation itself works.
Attempt #1: A Background Image
My first attempt at this was pretty much the simplest thing I could think of: using a picture of
some paper as the background image of the page. I hopped onto Google Images, typed in "paper
texture", picked my favourite one, and just set that as the background image of
the body element in my root layout.tsx
file:
Here's what it looked like:

This worked... technically, but it didn't look too great (read: pretty terrible). It was much too loud, and was very obviously just a picture of a piece of paper vibing behind the page text. I wanted something that looked more natural — so subtle that you wouldn't even notice it unless you knew it was there. So, into the bin went this approach.
Attempt #2: SVG Filters + CSS
Fresh off that earlier failure, my next attempt was to use SVG filters
(<feTurbulence> and <feDisplacement>
specifically) along with some complementary CSS to create the paper effect. For this attempt, I
first removed the previous background image, then I made the following additions:
- An absolutely positioned
divfor the SVG filters to be applied to - Some CSS to style the
divand apply the filters. - The SVG filters themselves
(Full disclosure: I adapted this idea from an 11-year-old post I found on StackOverflow.)
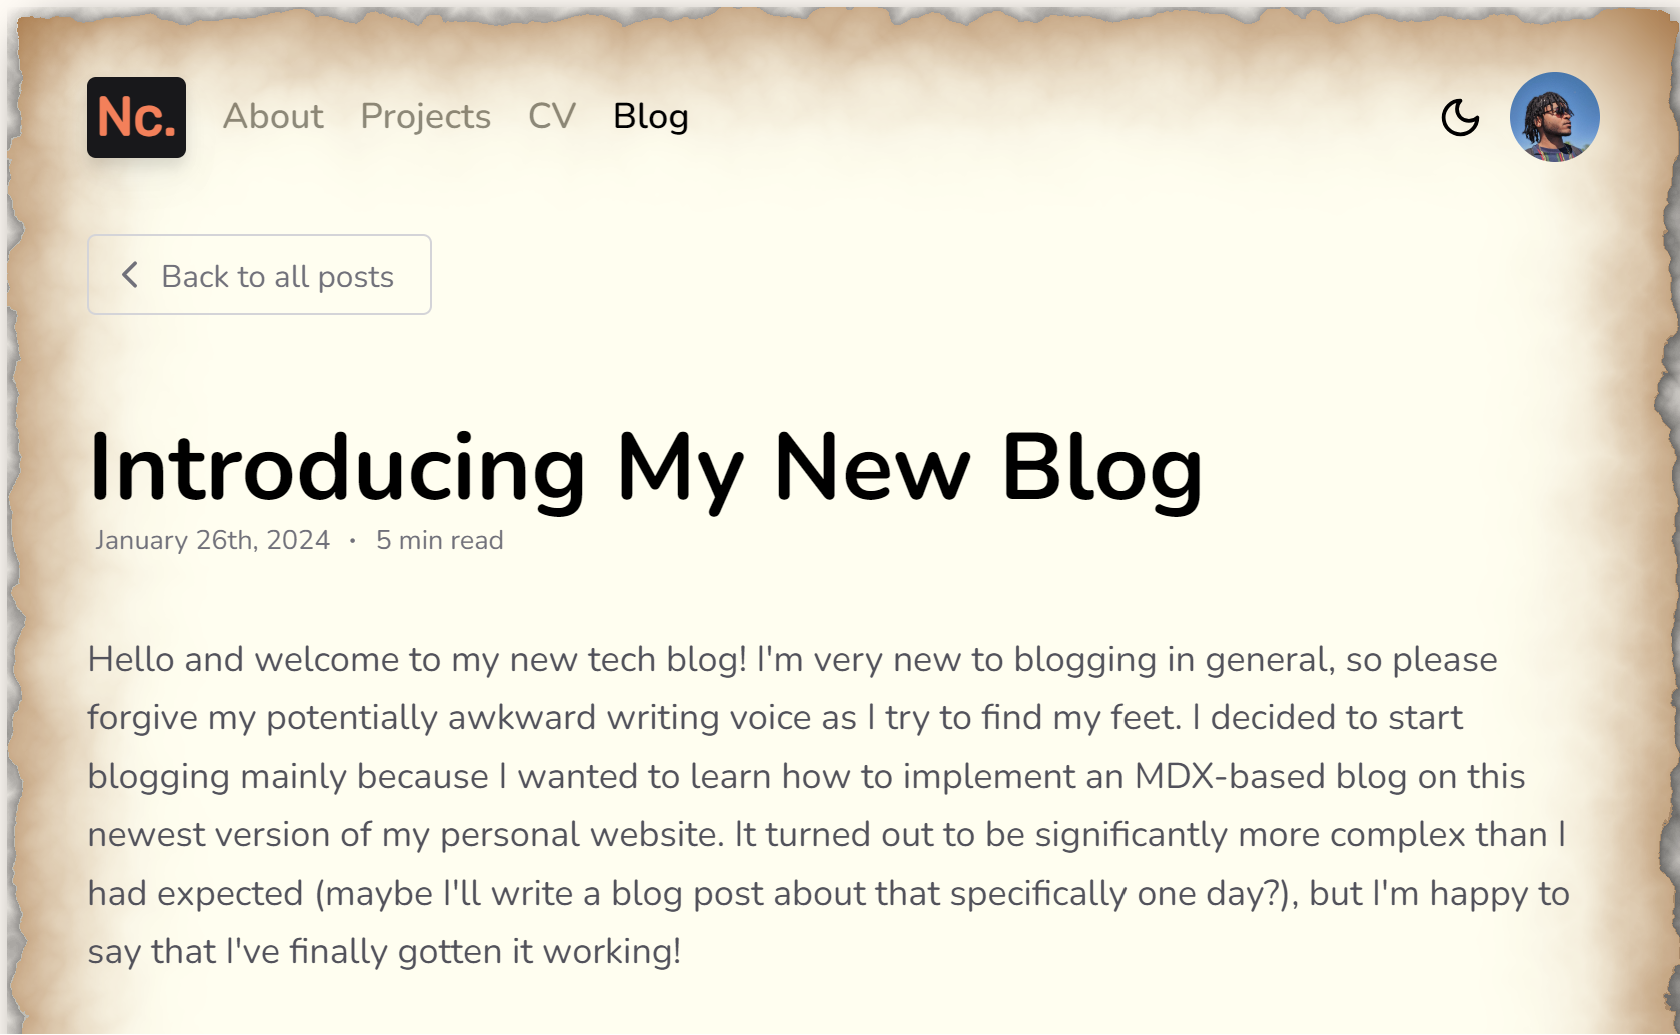
Here's what it looked like:

Marginally better than the first attempt, if at all. Now the page just looks like BlackBeard's treasure map or a message in a bottle or something... Very much not the subtle, sleek, sexy look I was going for 😩. Sooo, into the bin went this approach too. Will he ever get this right???
Attempt #3: Noise Is All You Need
Yessssir he will! And all it took was a little noise. I got this idea from the portfolio website of a random developer I follow on Twitter (shoutout to Delba!). I noticed that the background of their website had a pretty strong noise effect, and while I didn't want my texture to be quite that prominent, I couldn't help but think that I was onto something. And wouldn't you know it, I was!
I used a combination of the two previous approaches; this time setting a simple noise image
(straight from Google again) as the background image of an absolutely
positioned div inside the layout.tsx
file. I also reduced the opacity quite significantly to make it more subtle.
In the CSS above, we set the background image to the noise image, set it to repeat, and define the
size of the image (which will determine the size of the noise grain). We then style it to take up
the full page and stay behind all the page content, also
setting pointer-events to none to make
sure the noise overlay doesn't interfere with any buttons or links. Finally, we reduce the opacity
to 0.025, a value I just picked through trial and error.
No need for a "here's what it looked like" image this time, you can see the result right here on the page you're viewing! To really drive the effect home though (and to see if I could actually create this lol), here's a slider to adjust the noise level:
Try it out to see how the effect changes with more/less noise!
Wrapping up
Aaand that's how I added a paper effect to my website using noise! All in all, I'm really pleased with how the effect turned out. It's subtle, it's sleek, and it gives the page a lovely texture. And the best part? It just works in dark mode too! I hadn't even considered dark mode for the other approaches because I'd binned them before I even made it that far. On top of all that, I honestly feel like it reduces the strain on my eyes when I'm viewing the page too (admittedly, this could very well just be in my head haha).
Anyway, that's it for today. Thanks for spending your valuable time reading this post, I really hope you enjoyed it. If you have any questions or comments, please feel free to reach out. My socials will be at the bottom of the page. See you next time!
— Nathan